How do I add template content?
Now that you know how to access BEE, we can talk about how to add content to your Approved Email templates.
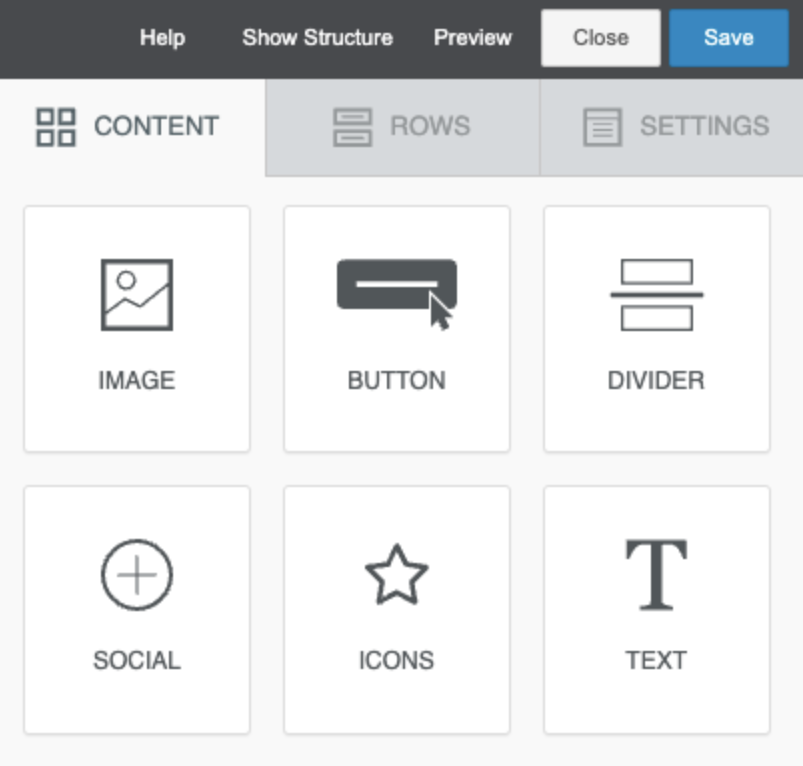
From the Content tab, you can add the following elements to your template:
- Images
- Buttons
- Dividers
- Social Media Widgets
- Icons
- Text
Working with text
The Text tool allows you to add blocks of text to your template, and control the formatting of the text.
For example, you decide to add a paragraph to your template that discusses the advantages of your new product. You select the Text tool on the Content tab and drag it to a block on your template. The text block automatically adjusts to the size of the column. You enter the paragraph text promoting your product, and then adjust the padding and font.
Each content block in BEE has its own settings. The Text tool settings allow you to create bulleted and numbered lists, control the color and style of text, and adjust the alignment.
Inserting Approved Email links and tokens

You can use the Special Links dropdown to add the following types of links to your templates:
- Approved Email action links - Double Opt-In Confirmation or Call to Action
- Remote Meeting links
- Scheduling Links
- Unsubscribe Links
- Vault Links - Engage Links, Survey Links, Links to other PromoMats/MedComms Documents
The Merge Tags button allows you to insert pre-populated Approved Email tokens into your template.
Working with images
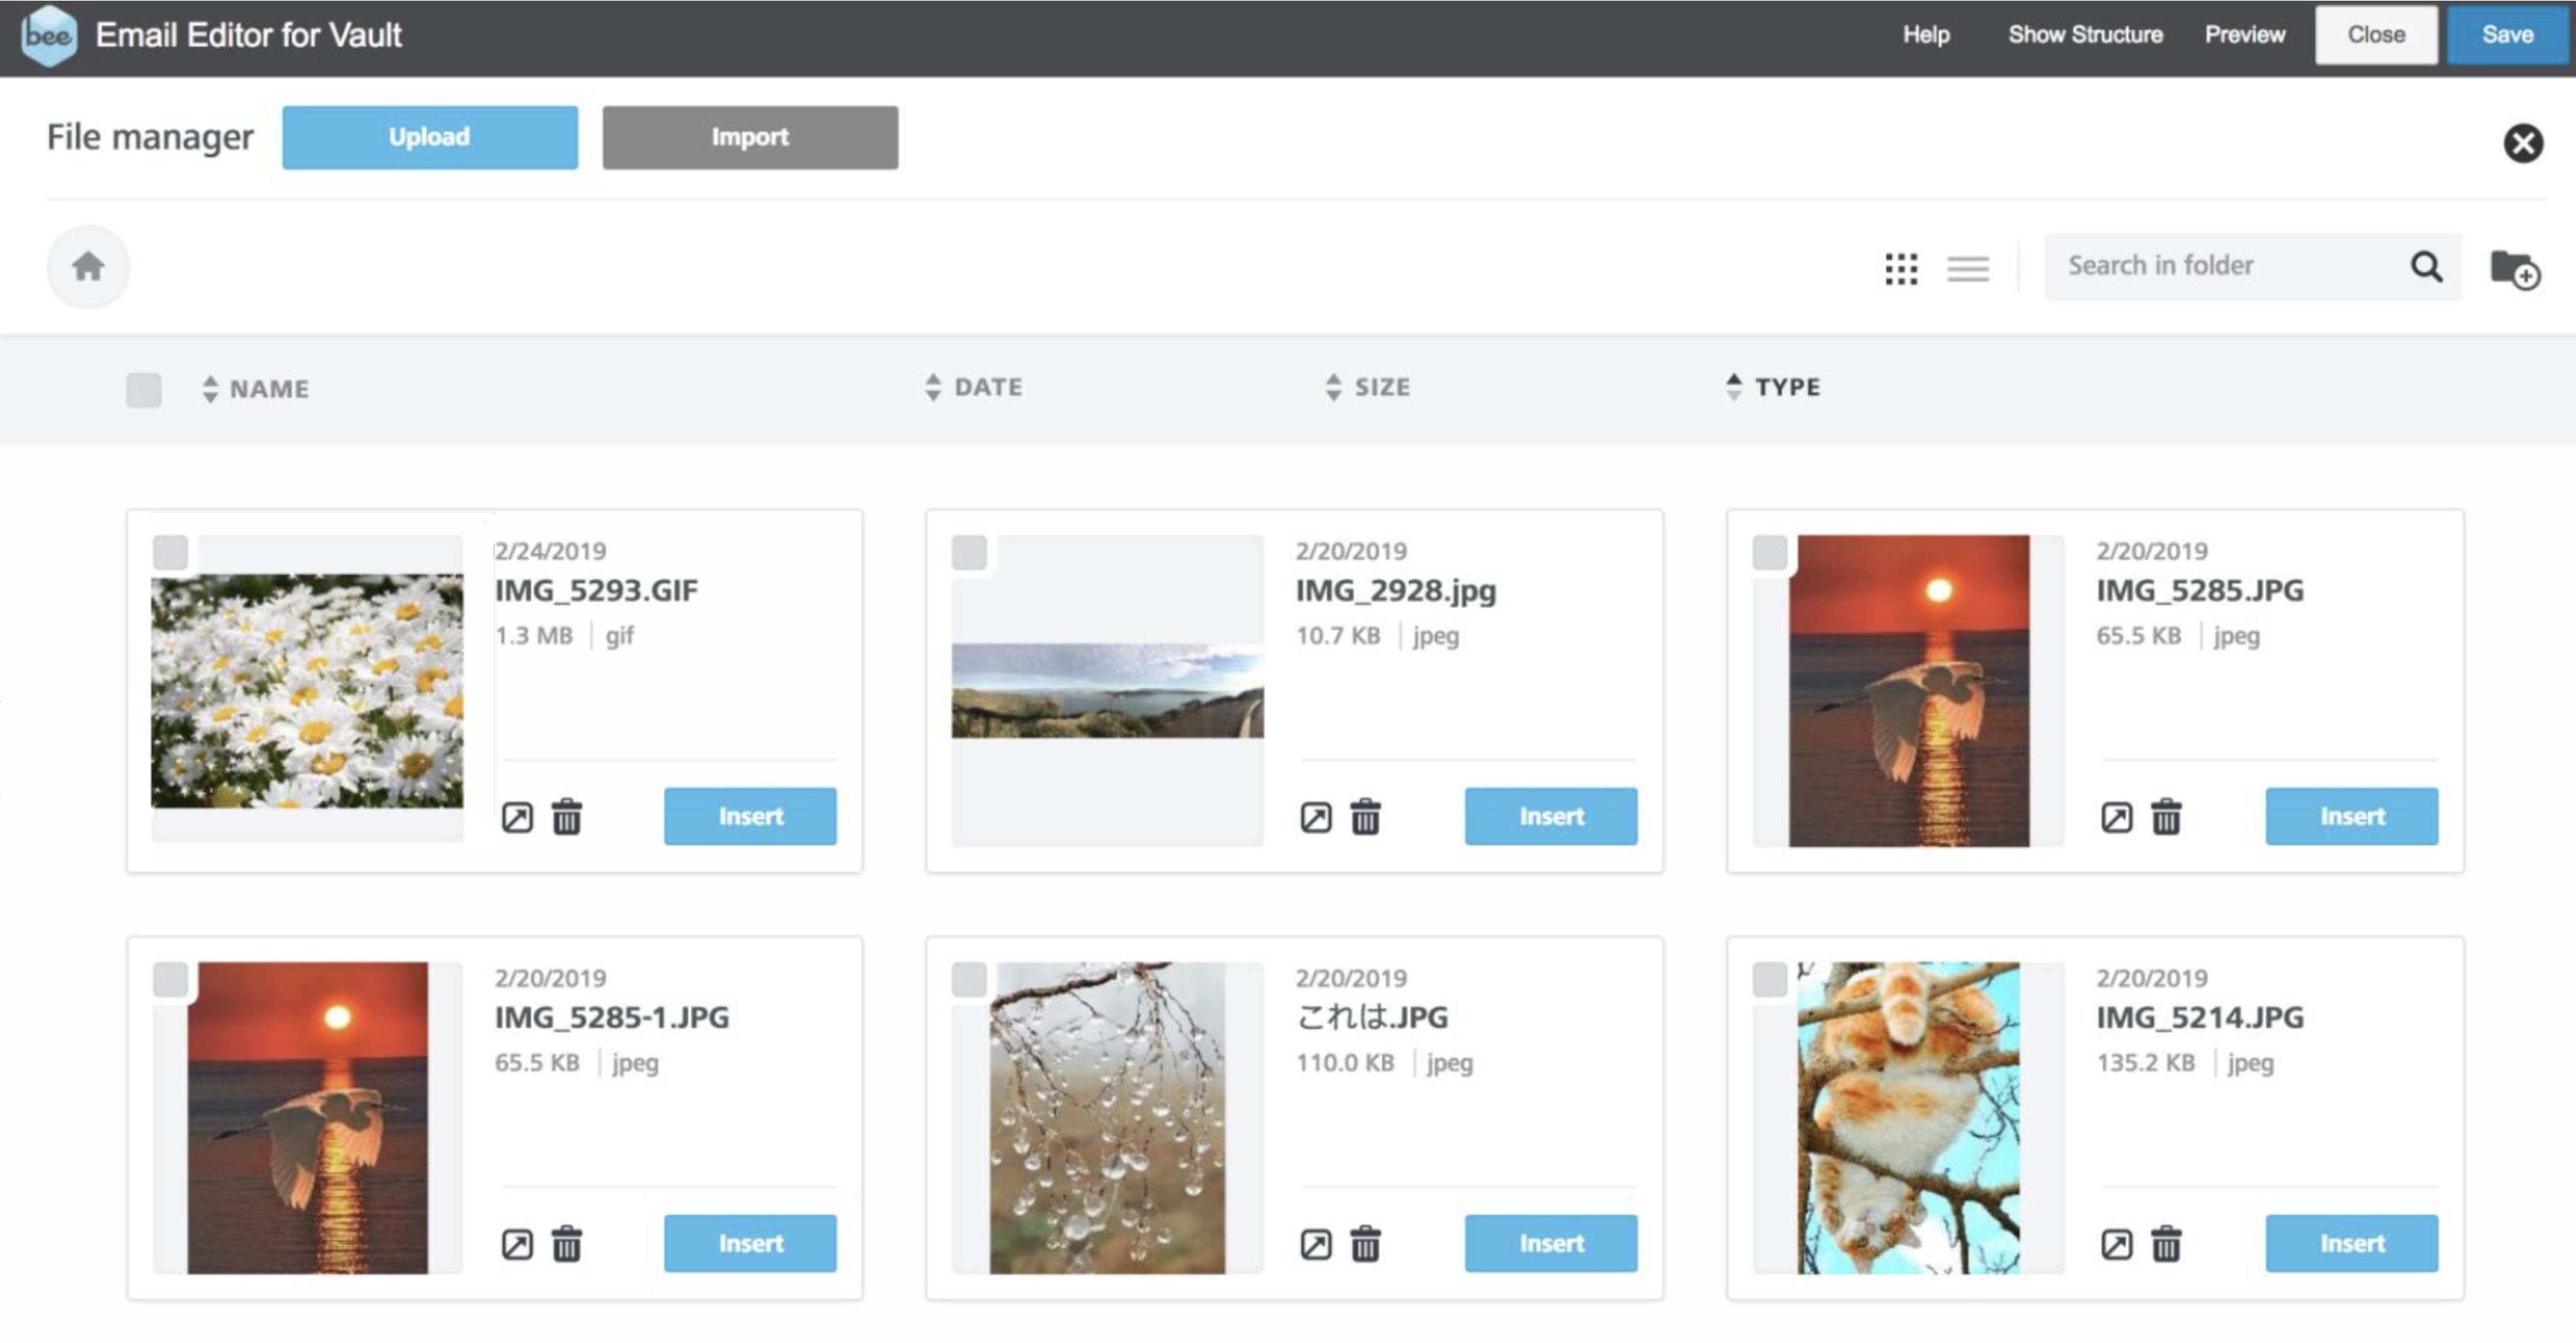
In BEE, you can easily add graphics to enhance your Approved Email templates. Whether you are adding brand-related images, graphs and data-related images, or even background photos to add a professional feel to your templates, BEE offers the following tools to make the job easier:
- Edit image - Loads an image editing tool allowing you to resize the image, apply visual effects, and more
- Adjust to width - Toggle this setting ON and OFF to automatically fill (ON) or not (OFF) the entire area of the message in which the image was placed
- Alt text - Enter text that displays for recipients who have images disabled
- URL - Specify where the image is saved, or an external URL where the image is stored
- Action - Link the image to a URL, to a new message in an email client, or to a phone number for making a call or sending a text message
To insert an image, drag an image component onto the template and select the Browse button. The BEE interface offers a user-friendly display with thumbnails for selecting images. Each thumbnail is accompanied by image information, including the file size. These features help you choose the correct images for your templates.