Congrats!
You’ve learned the fundamental concepts of working with BEE to create Approved Email templates.
Learn More About BEE
Now that you know how to use BEE to benefit your organization, you might be interested in learning more about the details of BEE. You can start here:
Flight Simulator
Let’s practice! Now that you’ve been introduced to the basic concepts of creating Approved Email templates with BEE, try these exercises in PromoMats/MedComms.
Challenge 1 - Create a new template
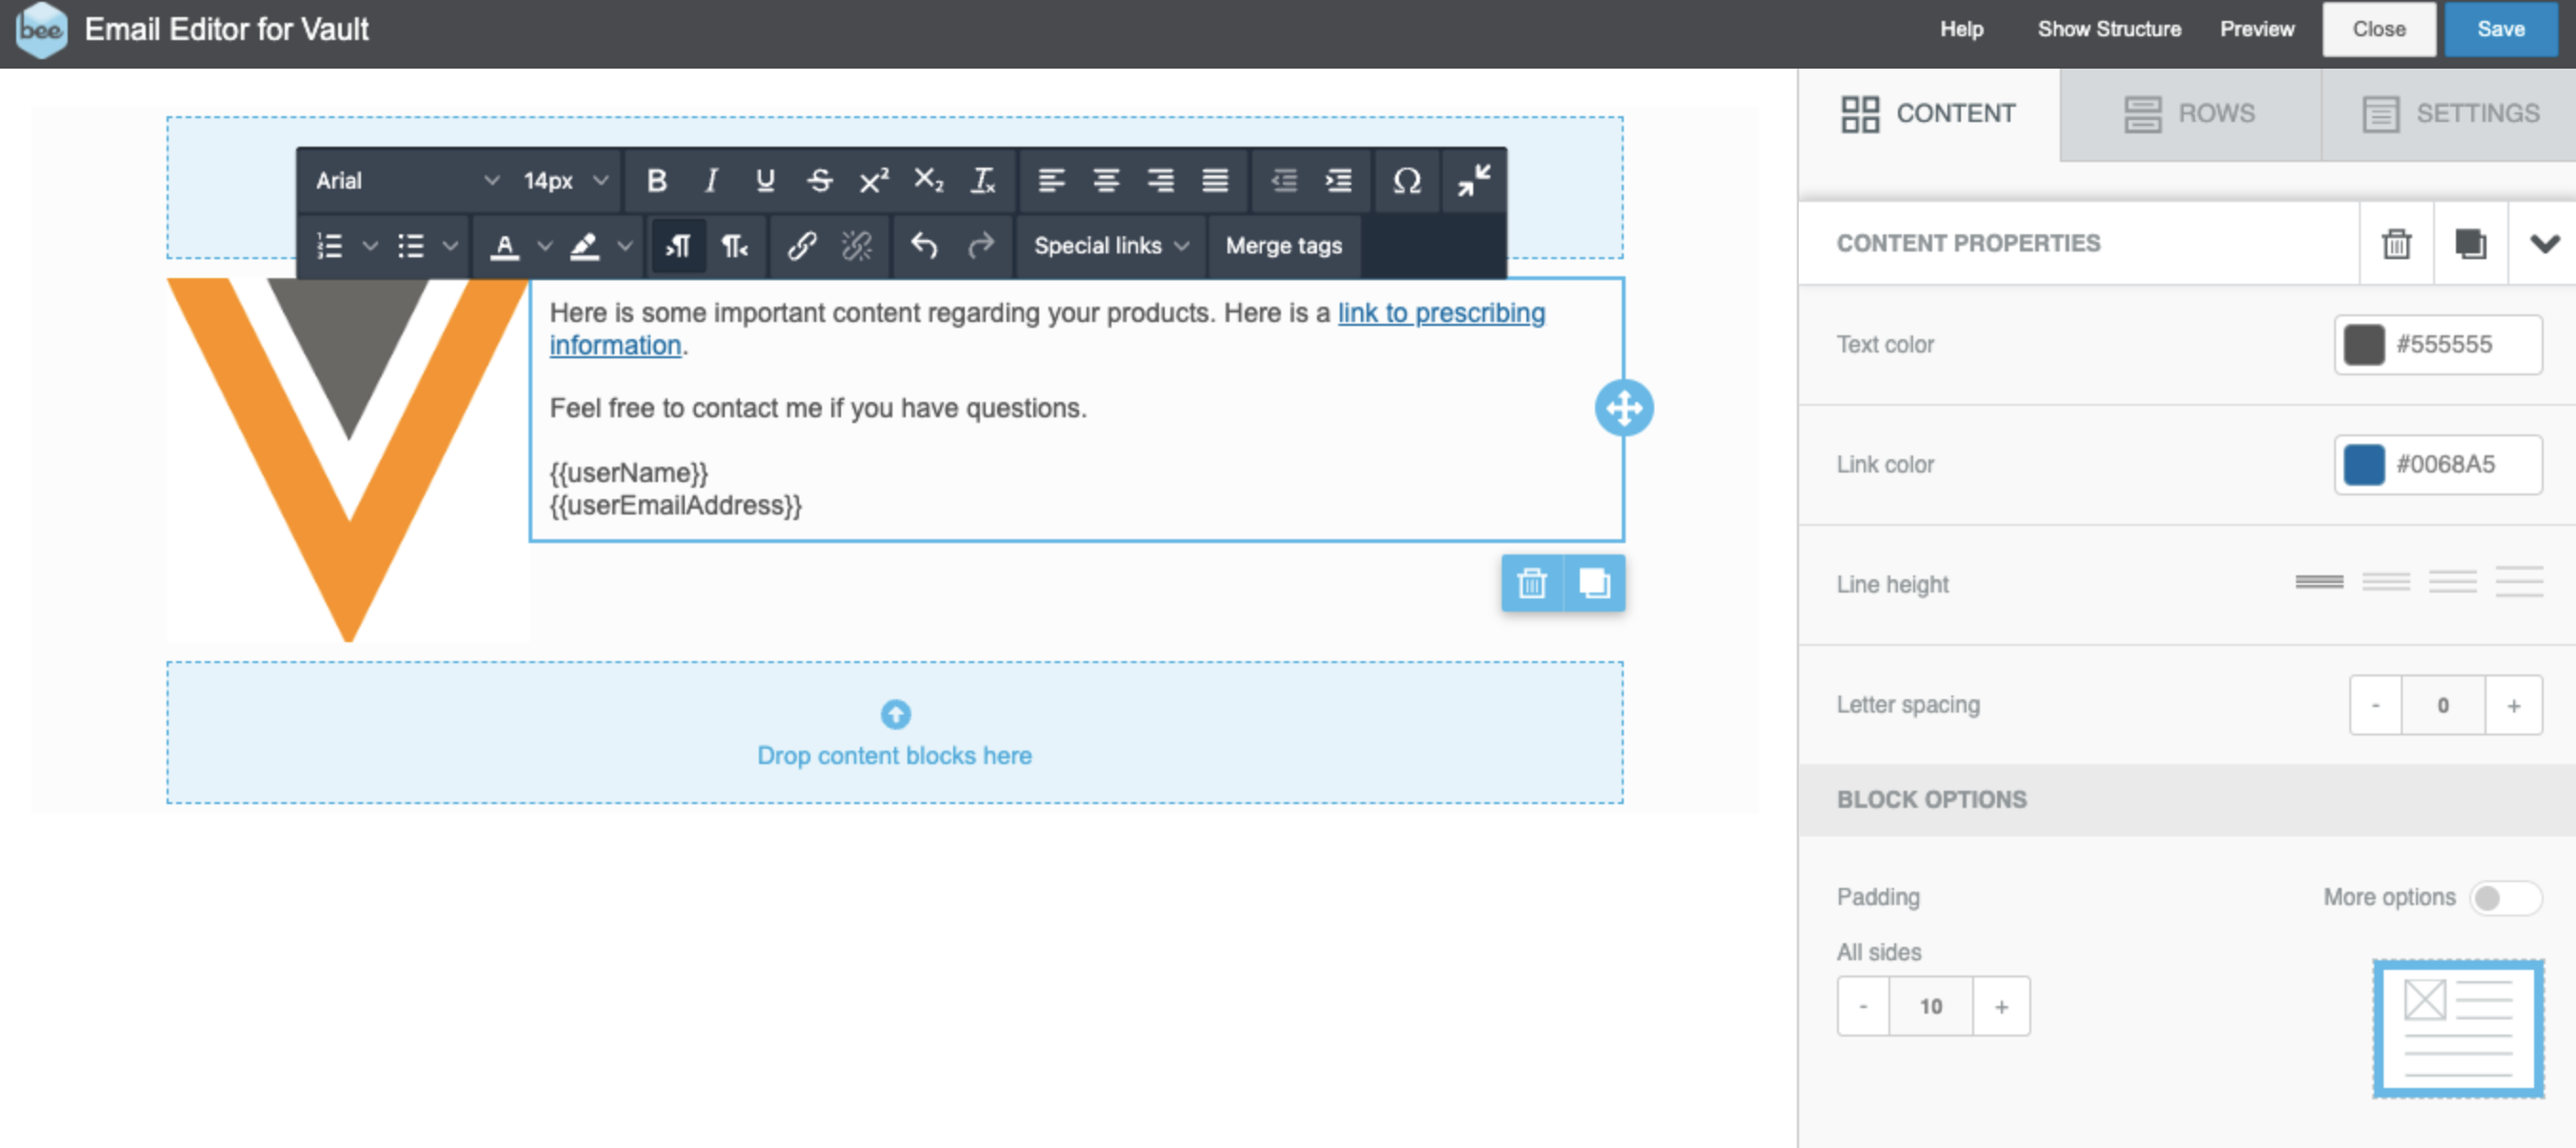
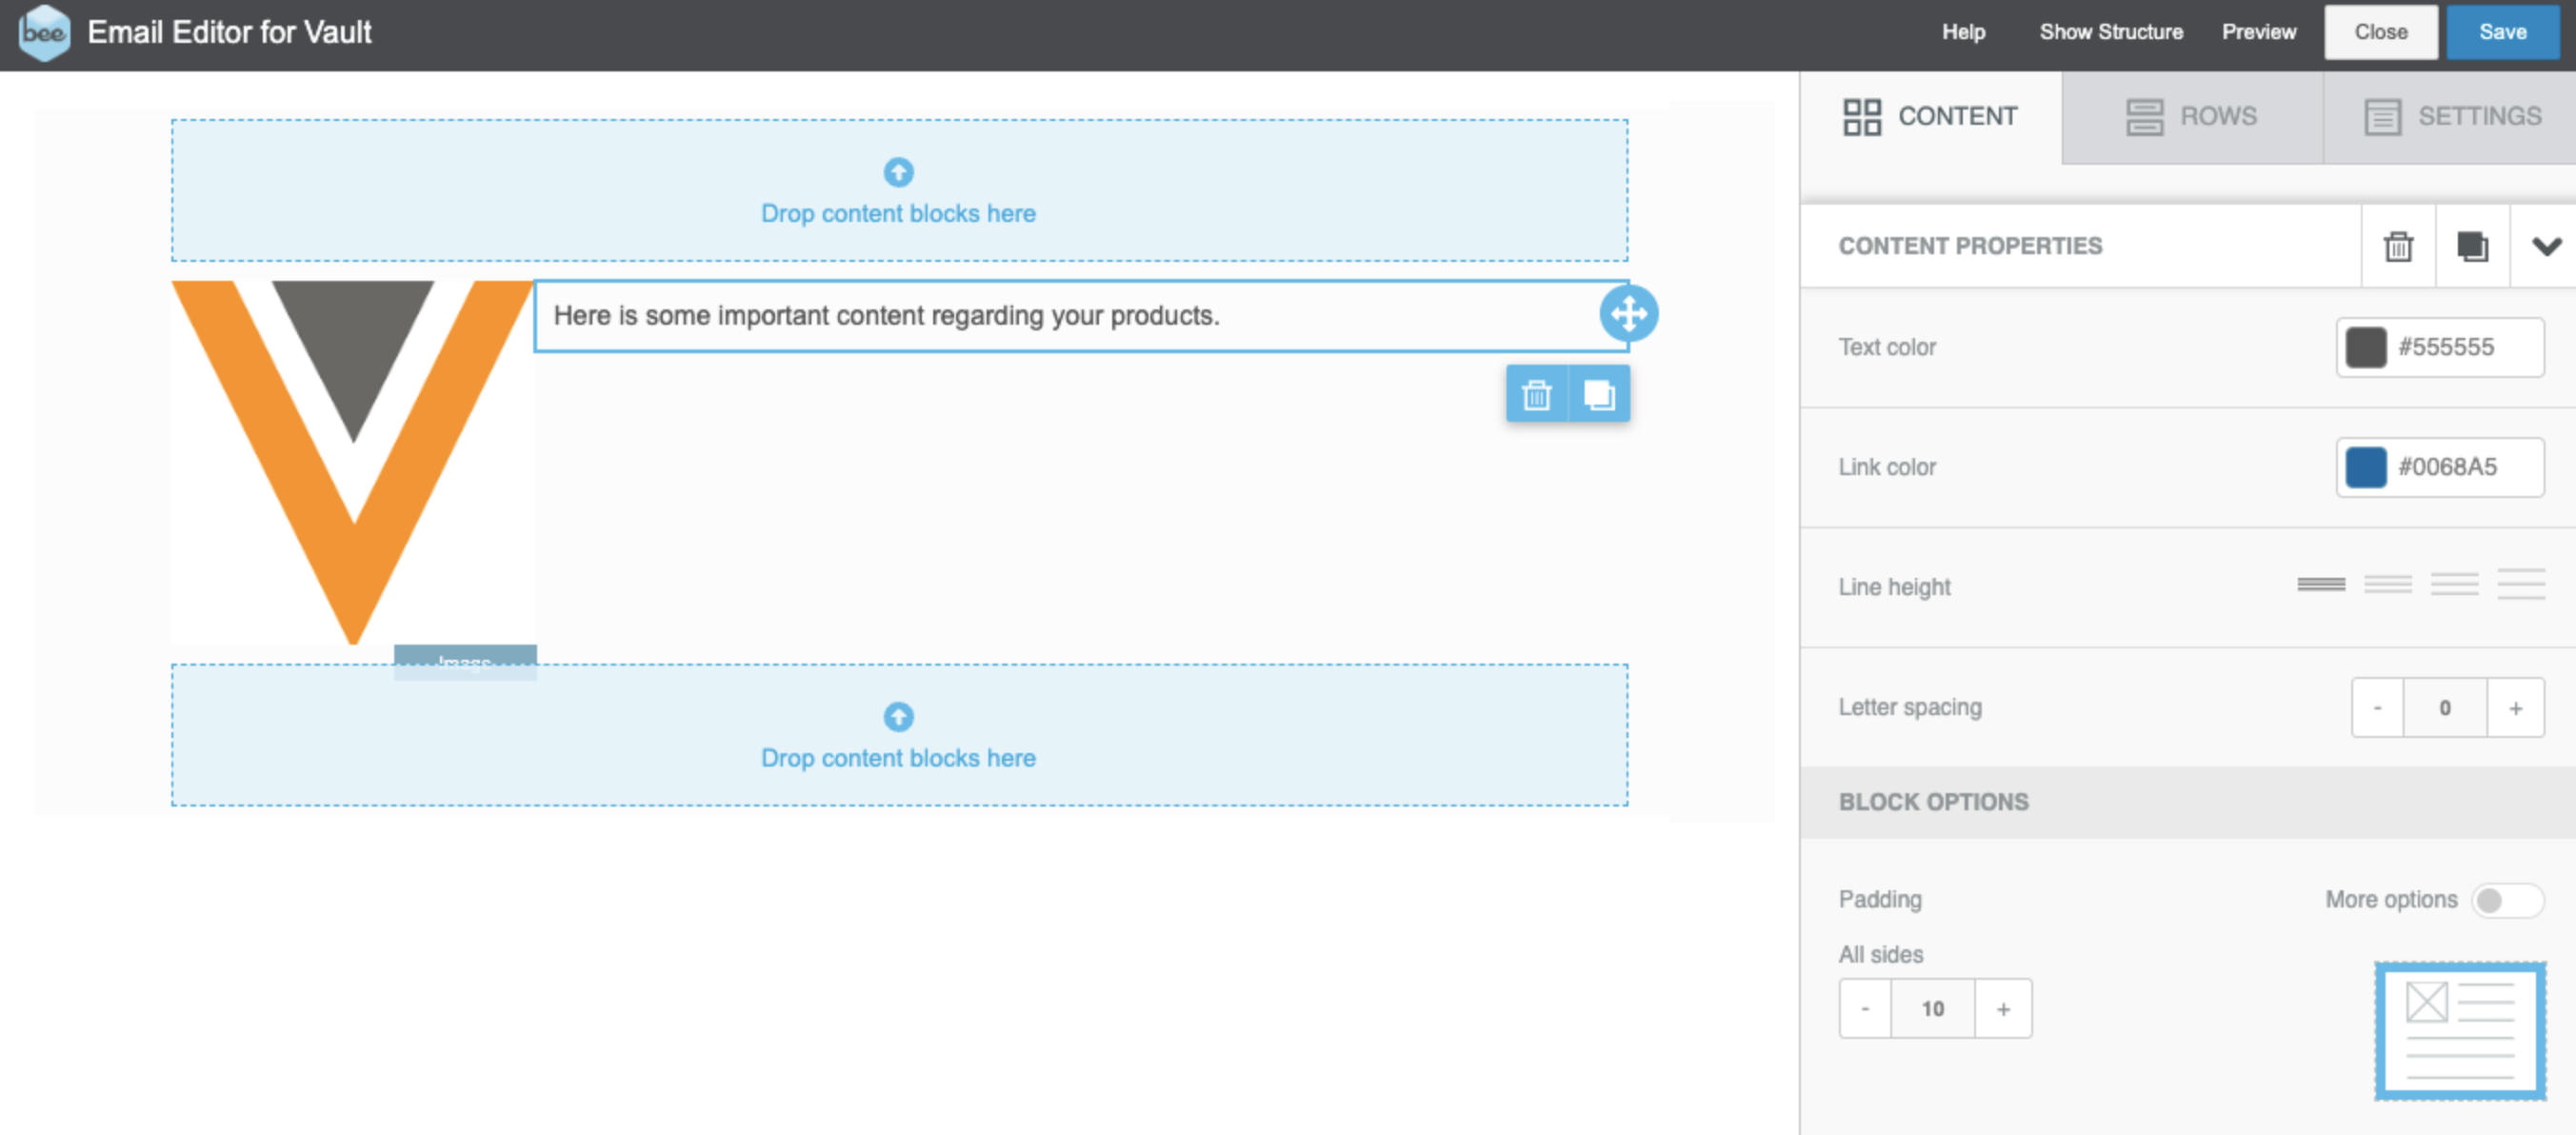
Log into PromoMats/MedComms and create a new template. Edit the template in BEE and add two rows. Add a text box and an image to the rows.
- In PromoMats/MedComms, create a new Email Template document.
- Using the action wheel, select Edit Email.
- The BEE Email Editor for Vault page will open in a separate window.
- Select the Rows tab and drag two rows of any configuration onto the template.
- Drag a text box onto one of the rows and enter some text.
- Drag an image onto the template, select Browse, and insert an image using the File Manager.
Challenge 2 - Add a Vault Document Link
In the text box of your template, add a link to a Prescribing Information document in PromoMats/MedComms, and tokens for contact information including the user's name and email address.
- In a text area, enter text for the link and select it.
- Select Special links > Vault Links > Prescribing Information.
- Press Enter to create a new paragraph and enter "Feel free to contact me if you have questions."
- Press Enter again.
- Select Merge tags and select User Name.
- Press Enter to move to the next paragraph.
- Select Merge tags and select User Email Address.