How do I build and deploy an email template?
With access, connections, and a Brand Kit in place, content creators can now build, test, and deploy content:
-
Navigate to the appropriate tab.

Currently, only Email Templates may be created. Support for additional content types is planned for a future release.
- Select + New.
-
Populate the following fields:
- Name
- Vault CRM Connection
- Content Management Connection to PromoMats or MedComms
- Email Type
- Description
- Select Create. The template opens in the Canvas view, ready to compose.
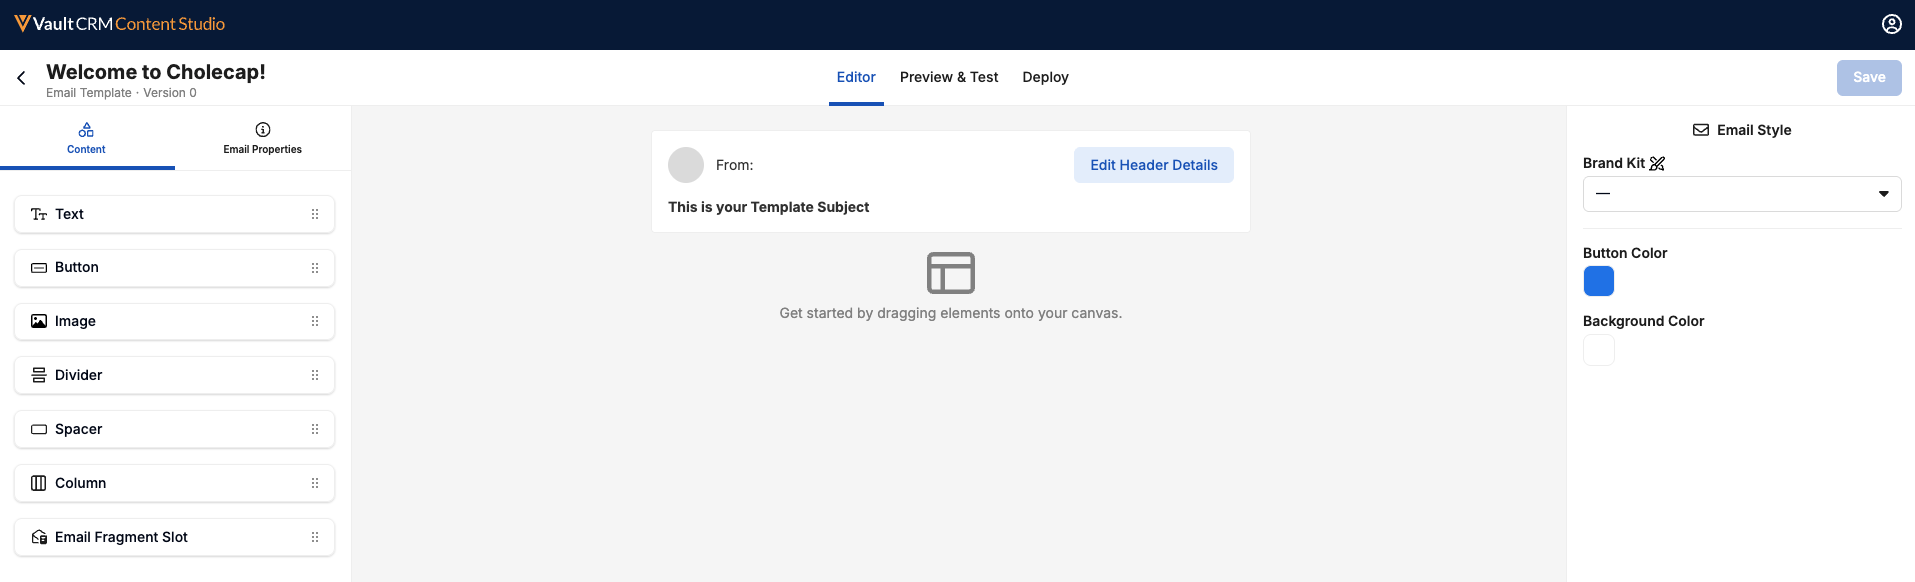
Content is assembled by dragging elements from the Content menu onto the canvas. Creators can add the following sections, each with its own side-menu properties:
- Text
- Button
- Image
- Divider
- Spacer
- Column
|
|
See Assembling Content in the Editor for detailed descriptions for each of these sections. |
A single Email Fragment Slot can also be added per template to mark where field users attach approved fragments, with options to restrict to matching products and to set minimum and maximum fragment counts.
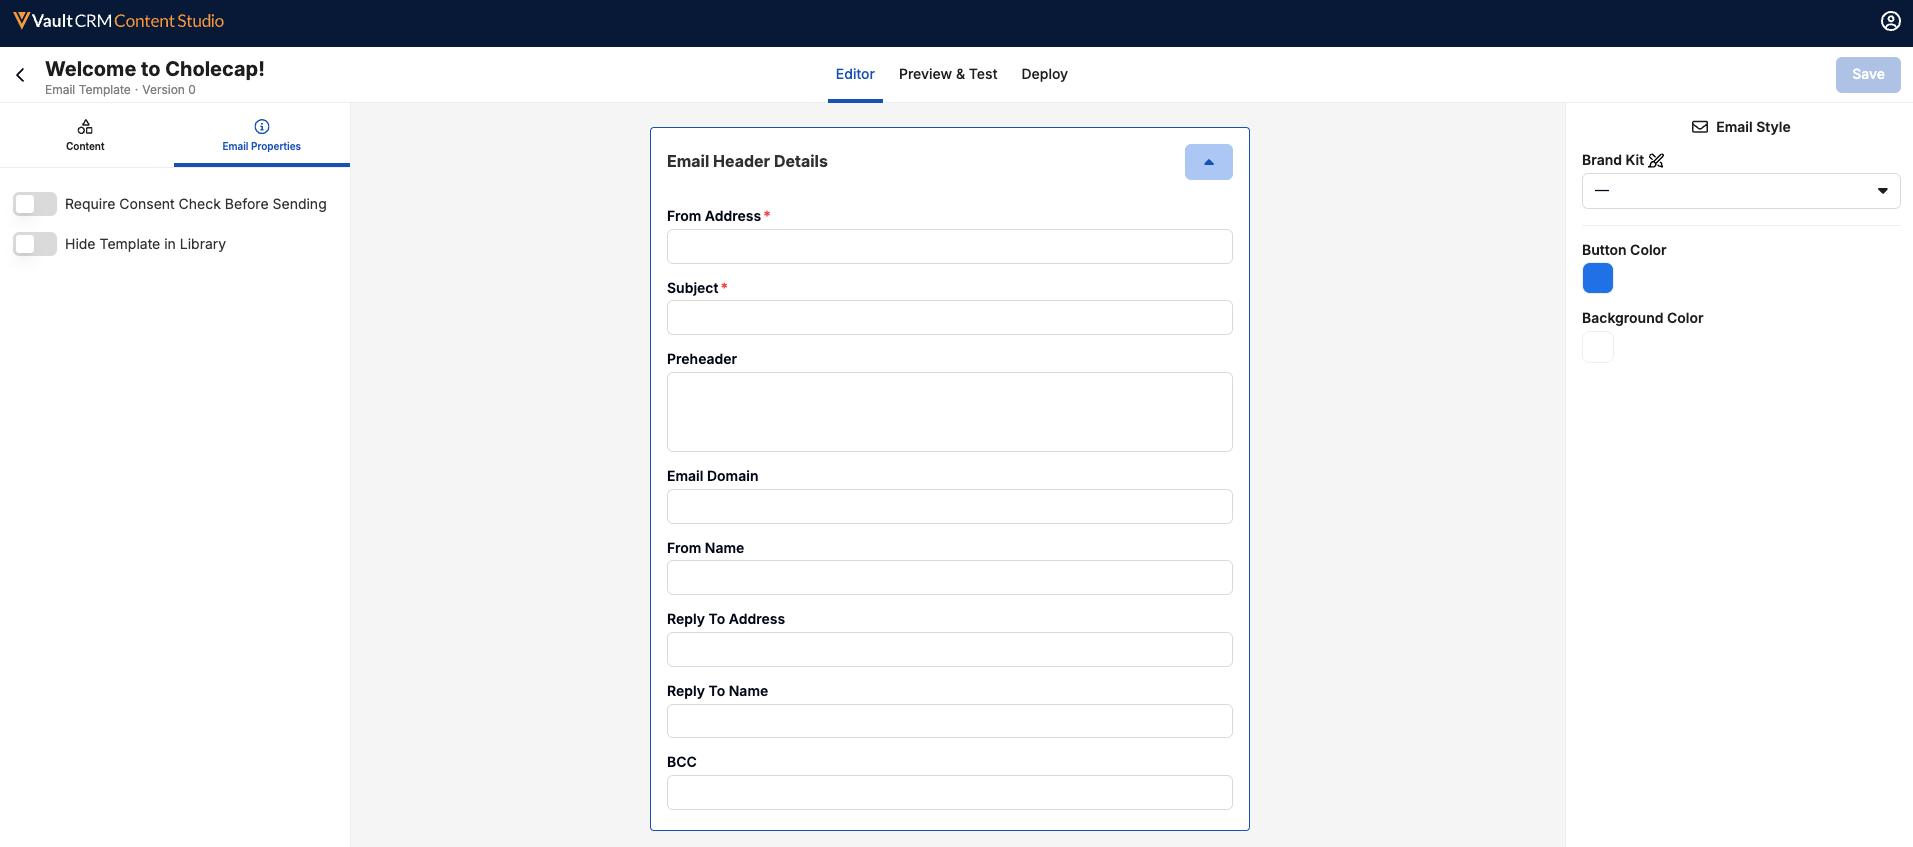
Select Edit Header Details at the top of the Editor view enables creators to define the From Address, Subject, Preheader, Email Domain, From Name, Reply To Address, Reply To Name, and BCC.
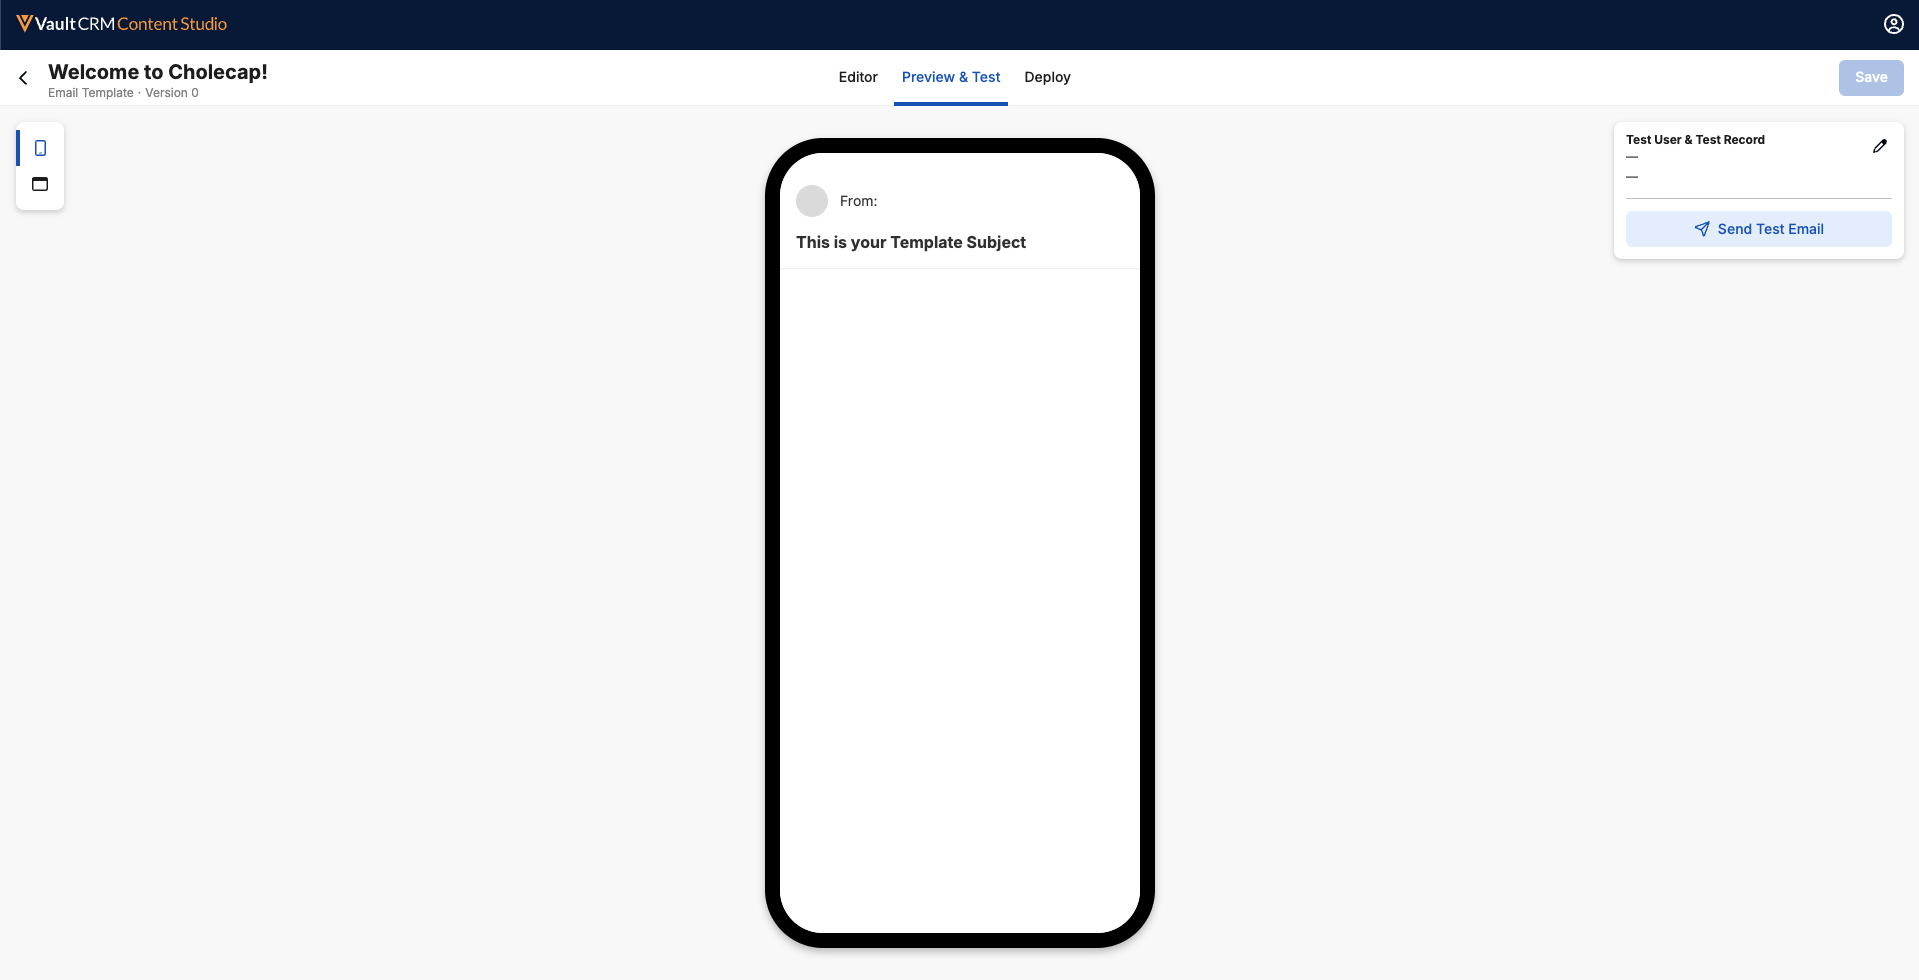
Before deploying, creators preview and test the template. The Preview & Test tab renders the template in a standard smartphone frame by default, with a Desktop button to switch views.
Finally, creators deploy the content. The Deploy tab lists connected Vaults.
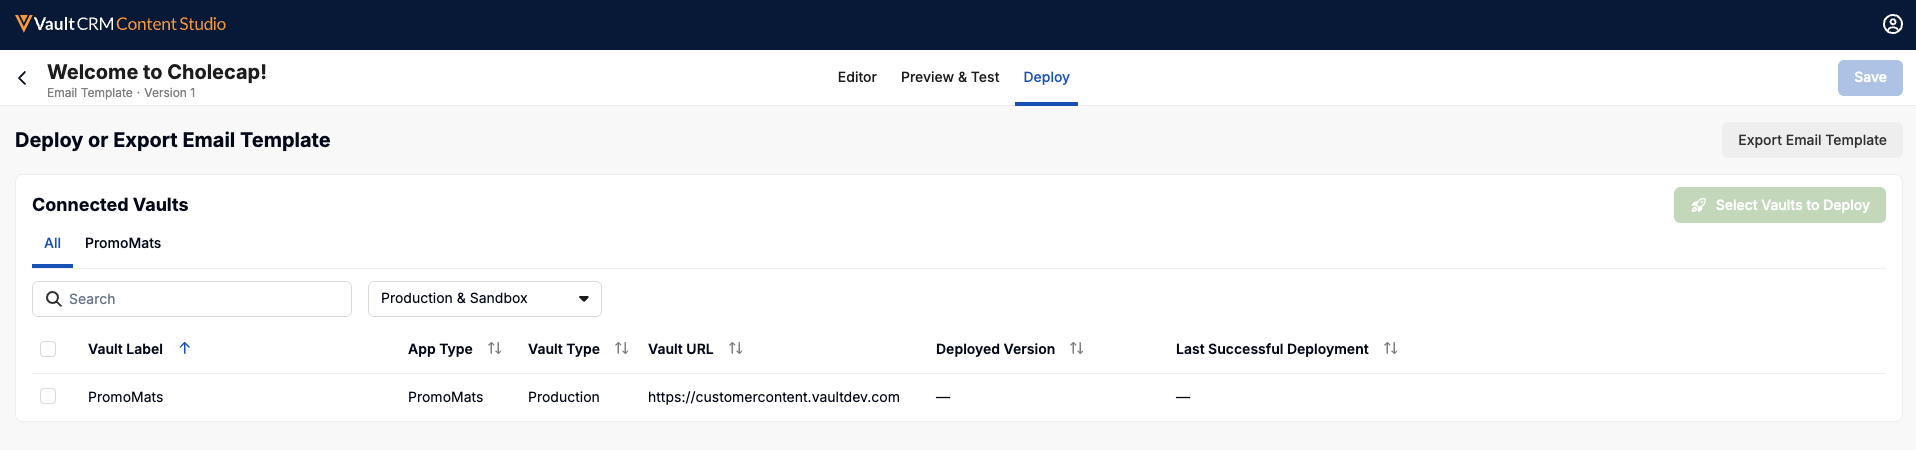
To deploy content:
- Select the checkbox beside each target Vault.
- Select Deploy to Vaults.
- Verify the Vaults and content version in the New Deployment modal.
- Select Deploy.
A status indicator shows progress and version per Vault; hovering over a failed pill reveals the cause and offers to clear or retry that single Vault. The Export button downloads a .zip (source HTML, an assets.zip of images, and a Details CSV) for a local copy.